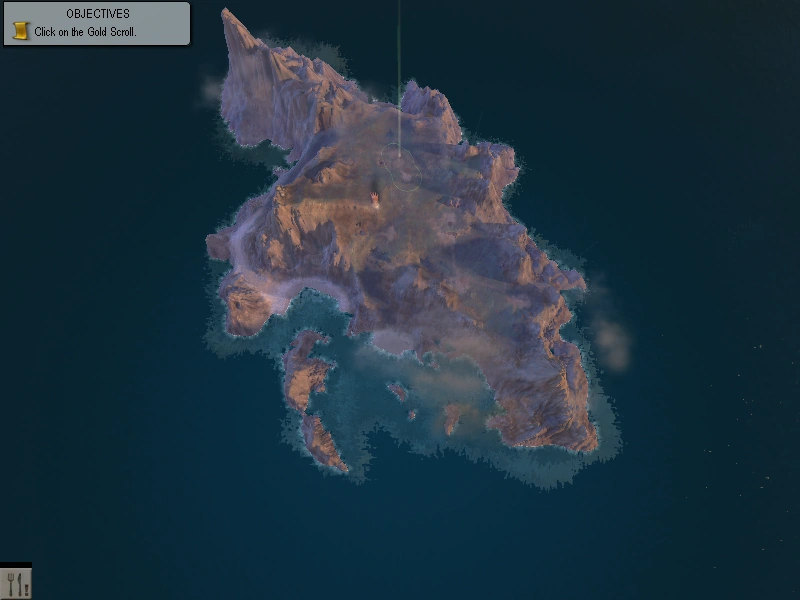
An Aerial view of Land 3
Land 3 in Black and White 2 is the the second tutorial land. The player here
starts in an abandoned Greek settlement, which contains some pre-built buildings including a storehouse and a creature pen.
Towns and Geography[]
Towns[]
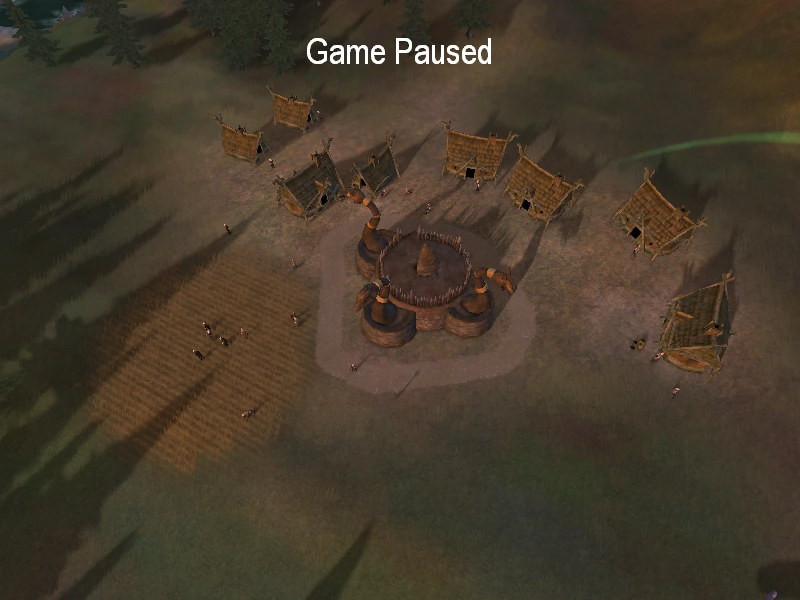
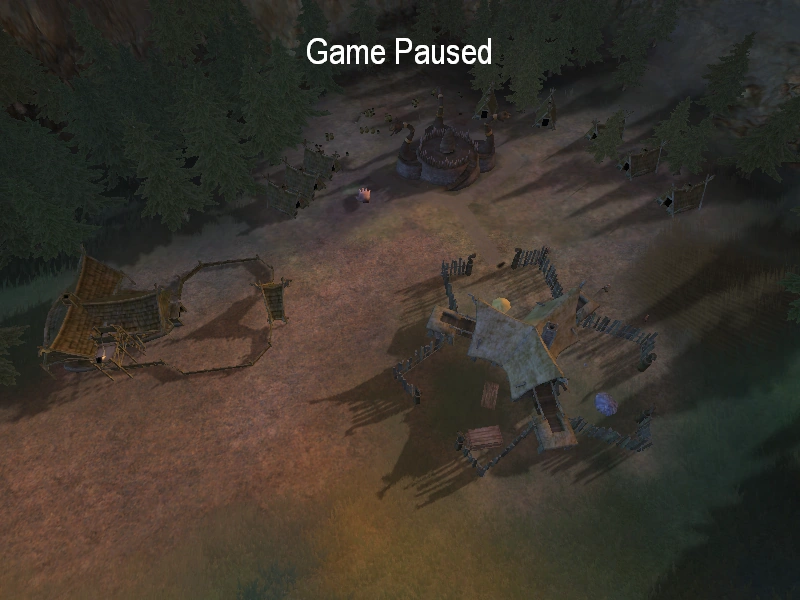
There are five towns (including the player's): four that are neutral Norse villages, and do not have influence rings of their own, an the player's, a Greek town.
- Pyrenon
- Fern
- Food: 0
- Wood: 0
- Ore: 0
- Population: 20
- Impressiveness: 957
- Impressiveness to capture: 4,466
- Fallow
- Food: 0
- Wood: 0
- Ore: 0
- Population: 15
- Impressiveness: 1,462
- Impressiveness to Capture: 4,846
- Rockridge
- Stonepeak
- Food: 2,673
- Wood: 4,698 - 5,010
- Ore: 4,158
- Population: 20
- Impressiveness: 1,136
- Impressiveness to capture:8,433
Ore Mines[]
- Mine 1
- Total ore: 9,658
- Location: Closest to player's town, jut out side the starting influence ring
- Mine 2
- Total ore: 5,400
- Location: On the edge of the cliff side, east of the town.
- Mine 3
- Total ore: 3,929
- Location: Cliff face above Fallow
- Mine 4
- Total ore: 1,964
- Location:mountain side north of Fern.
- Mine 5
- Total ore: 1,964
- Location: mountain side west of Rockridge
- Mine 6
Total ore: 3,929
- Location: Mountain side forest south of Stonepeak
- Mine 7Total ore: 3,929
- Location: On a ridge about halfway between Rockridge and Stonepeak and slightly north.
NOTE: Resource values are taken from the towns at the earliest possible point to move around the land freely. They may also shift because of random variables determined upon starting the land.
NOTE2: Impressiveness to capture values are taken from towns at the earliest possible point to pause and move around the land freely, and before any additional buildings have been built. They may also shift because of random variables that are determined upon the start of the land.
Platoons and Strategy[]
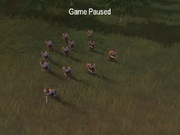
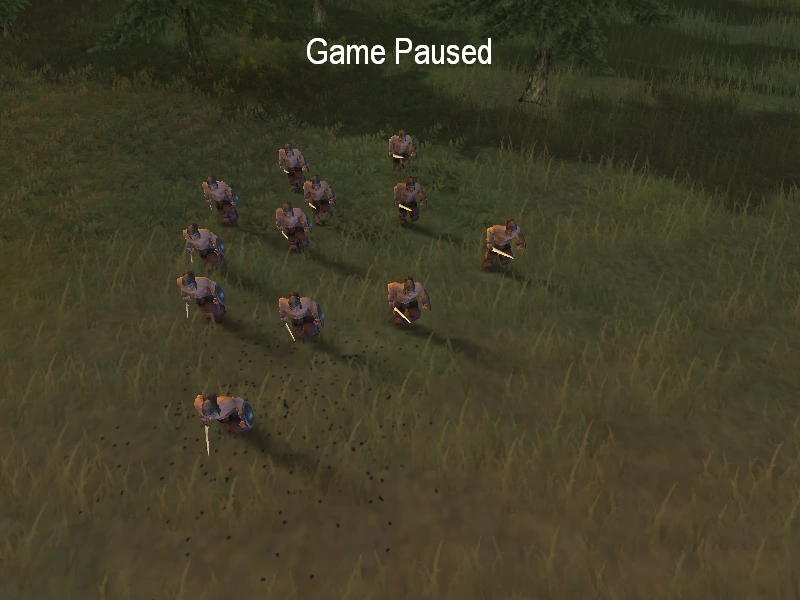
One of the three Rogue Platoons
Rogue Platoons[]
- Platoon 1:
- Health: 100
- Troops: 15
- Level: 1 (Conscripts)
- Tribe: Norse
- Behavior: Moves around randomly on the opposite end of the land from your town. Doesn't seem to wander far from Rockridge.
- Platoon 2:
- Health: 100
- Troops: 15
- Level: 1 (Conscripts)
- Tribe: Norse
- Behavior: Moves around randomly on the opposite end of the land from your town. Only patrols between Rockridge and Stonepeak
- Platoon 3:
- Health: 100
- Troops: 15
- Level: 1 (Conscripts)
- Tribe: Norse
- Behavior: Moves around randomly on the opposite end of the land from your town. Doesn't leave the vicinity of Stonepeak.
Strategy[]
For this land, it is best just to increase the town's impressiveness to 9,000, so that upon completing the tutorials, you automatically win the land due to the other two town migrating. If, however, you want your creature to obtain some battle experience and some muscle, it is advisable to have him take care of the platoons. If not, it's best if you left them alone.
Scrolls and Objectives[]
Bronze Tutorials:[]
- Road Tutorial: Learn how to place roads. Tribute earned: 2,000
- Toolbar Objectives: Tribute earned: 0
- Time of Day tutorial: Tribute earned: 2,000
Silver Quests:[]
- Patemy Suit: you are blamed for the pregnancy of a man's daughter.
- Tribute earned by paying the dowry: 20,000
- Tribute earned by following the daughter: 20,000
- Silence the Rooster. Use sundial mode to silence a rooster. Tribute earned: 10,000
- Kill the Rooster. Keep using the sundial until the rooster dies of exhaustion. Tribute earned: 10,000
Gold Story:[]
- Starving villagers: Learn to feed the village. Tribute earned: 2,000
- Town Center Tutorial: Learn how the Town Center works and how to use it. Tribute earned: 0
- Building Tutorial: Learn how to build structures. Tribute earned: 0
- Toolbar Tutorial: Learn all about the tool bar. Tribute earned: 0
- Soldier Tutorial: learn how to recruit and control soldiers, as well as how to take over towns. Tribute earned: 0
- Creature tutorial: learn how to use and control your creature. Tribute earned: 0
- Depart Land: Move on to the next land. Tribute earned: 0
Objectives:[]
- Re-establish the village. Total tribute: 13,000 (17,000?)
- Create 3 disciple Farmers. Tribute Earned: 2,000
- Create 3 disciple foresters. Tribute earned: 2,000
- Create 3 disciple breeders. Tribute earned: 2,000
- Create 3 disciple builders. Tribute earned: 2,000
- Increase population to 75 people. Tribute earned: 5,000
- Build a temple. Tribute earned: 0
- Accept migration. Tribute earned: 0
- Place 12 foundations. Tribute earned: 0
- Construct 12 villas. Tribute earned: 0
- Build armory. Tribute earned: 0
- Recruit a platoon.Tribute earned: 0
- Take over a town. Tribute earned: 0
- Take over every town. Tribute Earned: 5,000 (?)
- Increase impressiveness total to 9,000. Tribute earned: 10,000
- Discover every 'Did You Know?' sign. tribute earned: 2,000